clubmate.fi
A good[ish] website
Web development blog, loads of UI and JavaScript topics
Install and run Vagrant
This post looks at how to install vagrant, and how to initialize a project and install a box. It also lists all needed commands and tricks to get started on local developing goodness.
Terminology
Box
These are the virtual linux machines Vagrant runs on. It might be that only one box is needed, multiple dev environments can be run on the same Box.
Boxes are the package format for Vagrant environments. A box can be used by anyone on any platform that Vagrant supports to bring up an identical working environment. The vagrant box utility provides all the functionality for managing boxes. You can read the documentation on the vagrant box command for more information.
Providers
VirtualBox is a provider, VMware is a provider. It's the application that is doing the actual work here.
Provisioning
This means installing all the needed components to the server programmatically, e.g. MySQL, NGINX, Node etc. These are specified in the Vagrantfile, in the project root and is usually done via provisioning tool like Puppet or Chef.
Provisioners in Vagrant allow you to automatically install software, alter configurations, and more on the machine as part of the vagrant up process.
Vagrantfile
A file called Vagrantfile, lives in the project root. This is where all the Vagrant related configuration is (think Gemfile or Capfile).
Install needed components
There are two needed components:
Spin it up
Project directory is needed (of course):
$ mkdir vagrant_test && cd vagrant_testInitialize Vagrant in a chosen directory:
$ vagrant init hashicorp/precise64
A `Vagrantfile` has been placed in this directory. You are now
ready to `vagrant up` your first virtual environment! Please read
the comments in the Vagrantfile as well as documentation on
`vagrantup.com` for more information on using Vagrant.
Then, do as you were told:
$ vagrant upWe didn't have a box installed yet, Vagrant is now doing just that: installs 64 bit Ubuntu on the VirtualBox. It's about 374M in size, when installed it takes roughly 1GB. On a broadband the install take roughly ~5 minutes.
Here's what the output of vagrant up should look like at this point:
Bringing machine 'default' up with 'virtualbox' provider...
==> default: Box 'hashicorp/precise64' could not be found. Attempting to find and install...
default: Box Provider: virtualbox
default: Box Version: >= 0
==> default: Loading metadata for box 'hashicorp/precise64'
default: URL: https://vagrantcloud.com/hashicorp/precise64
==> default: Adding box 'hashicorp/precise64' (v1.1.0) for provider: virtualbox
default: Downloading: https://vagrantcloud.com/hashicorp/precise64/version/2/provider/virtualbox.box
default: Progress: 49% (Rate: 801k/s, Estimated time remaining: 0:07:08)
default: Progress: 49% (Rate: 739k/s, Estimated time remaining: 0:07:06)
==> default: Successfully added box 'hashicorp/precise64' (v1.1.0) for 'virtualbox'!
==> default: Importing base box 'hashicorp/precise64'...
==> default: Matching MAC address for NAT networking...
==> default: Checking if box 'hashicorp/precise64' is up to date...
==> default: Setting the name of the VM: clubmatefi_default_1398865802619_53576
==> default: Fixed port collision for 22 => 2222\. Now on port 2200.
==> default: Clearing any previously set network interfaces...
==> default: Preparing network interfaces based on configuration...
default: Adapter 1: nat
==> default: Forwarding ports...
default: 22 => 2200 (adapter 1)
==> default: Booting VM...
==> default: Waiting for machine to boot. This may take a few minutes...
default: SSH address: 127.0.0.1:2200
default: SSH username: vagrant
default: SSH auth method: private key
default: Warning: Connection timeout. Retrying...
==> default: Machine booted and ready!
==> default: Checking for guest additions in VM...
default: The guest additions on this VM do not match the installed version of
default: VirtualBox! In most cases this is fine, but in rare cases it can
default: prevent things such as shared folders from working properly. If you see
default: shared folder errors, please make sure the guest additions within the
default: virtual machine match the version of VirtualBox you have installed on
default: your host and reload your VM.
default:
default: Guest Additions Version: 4.2.0
default: VirtualBox Version: 4.3
==> default: Mounting shared folders...
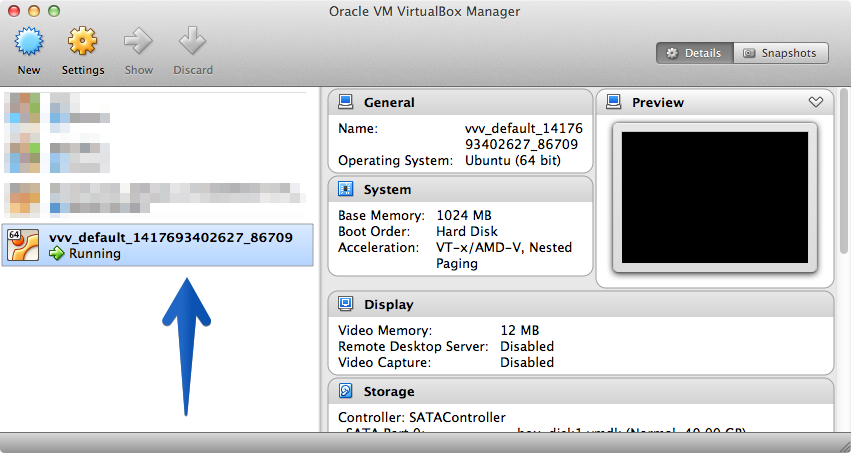
default: /vagrant => /Users/bob/web/vagrant_testNow it's running (pump fist up and down). The newly created box can be seen in the VirtualBox.
Ssh into the box and look around:
$ vagrant sshIt's running, now what?
Configure Vagrant via Vagrantfile
There's now Vagrantfile in the working directory, it's in Ruby, set syntax highlighting accordingly. Start by deleting all the commented lines, and you're left with the gist:
# -*- mode: ruby -*-
# vi: set ft=ruby :

# Vagrantfile API/syntax version. Don't touch unless you know what you're doing!
VAGRANTFILE_API_VERSION = "2"

Vagrant.configure(VAGRANTFILE_API_VERSION) do |config|
    config.vm.box = "hashicorp/precise64"
end
IP can be set like this:
config.vm.network :private_network, ip: "192.168.33.101"And the port:
config.vm.network :forwarded_port, guest: 80, host: 9090And the synced folder:
config.vm.synced_folder "./", "/vagrant"Plus tons of other stuff, but for now we'll stick to the minimum settings.
All in all the Vagrantfile should look something like this:
# -*- mode: ruby -*-
# vi: set ft=ruby :

# Vagrantfile API/syntax version. Don't touch unless you know what you're doing!
VAGRANTFILE_API_VERSION = "2"

Vagrant.configure(VAGRANTFILE_API_VERSION) do |config|
    config.vm.box = "hashicorp/precise64"
    config.vm.network :private_network, ip: "192.168.33.101"
    config.vm.network :forwarded_port, guest: 80, host: 9090
    config.vm.synced_folder "./", "/vagrant"
end
Reload Vagrant
Issue the following command:
$ vagrant reloadWait for it boot and vagrant ssh into it.
Now, this is where we'd usually set up Puppet to do all the heavy lifting, but lets just play around with the VM a bit first to really understand what's going on (follow up post on Puppet is already brewing).
Install NGINX via apt-get just to illustrate how things work here:
$ sudo apt-get update
$ sudo apt-get install nginx
Start it:
$ service nginx startGo to 192.168.33.101 or localhost:9090 and you shoud see the NGInx default page. We're getting somewhere here.
Go to the server root and have a look:
$ cd /vagrant # This was defined in Vagrantfile
$ ls          # It's our project dir, voilà
So, this is indeed the directory on the host machine (that's your computer). Type exit in the prompt and you're out from the Vagrant VM. Go ahead and make a file called index.html in the project root. This can be done from the prompt (as well as from text editor or Finder):
$ sudo nano index.htmlNano will pop up, paste in a primitive html file:
<!doctype html>
<html lang="en">
<head>
    <meta charset="UTF-8">
    <title>Spoon dilemma</title>
</head>
<body>
    <h1>Hello world!</h1>
    <p>My spoon is too big.</p>
</body>
</html>
On an editor with Emmet enabled, just type html:5 and hit tab, it'll barf that up for you.
Now we need to make NGINX to point to the vagrant directory, vagrant ssh into the VM and issue the following:
$ sudo nano /etc/nginx/sites-available/defaultNano will pop up. Look up a line that says something like:
root /usr/share/nginx/wwwThat means, NGINX is looking the site from there, lets point NGINX to the vagrant dir. Change the line to:
root /vagrantRestart NGINX:
$ sudo service nginx restartGo to 192.168.33.101, and there it is: Hello world. See, Vagrant and the host are going a bit like this:

Give it a nicer domain
The local site doesn't have to be at 192.168.33.101 or localhost:9090, it can be a real domain, it can be whatver is specified in the hosts file. In OS X Mavericks the hosts file is at /private/etc/hosts (if the hidden files aren't enabled in Finder, the private dir won't show up).
Just add the IP and domain pair in the end of the file:
192.168.33.101 my-test-site.devPoint NGINX to the domain
Edit the default file again:
$ sudo nano /etc/ngingx/sites-available/defaultLook up server_name and change it to:
server_name my-test-site.dev;Restart as always:
$ sudo service nginx restartNow the index.php can be viewed at my-test-site.dev.
Take it down
There comes a time when the VM is not desired to be running, the current state can be saved and the machine turned of with the suspend command:
$ vagrant suspendHalt stops the machine crafully, it's like pressing the power off button on a computer:
$ vagrant haltIf the machines is wished to be destroyed, the aptly names destroy command is to be used:
$ vagrant destroyReadily configured Vagrant environments
If doing WordPress development, then the VVV (Varying Vagrant Vagrants) is the way to go. PuPHPet is also a really great tool for spinning up and provisioning complex Vagrant environments.
Conclusion
It might be tedious to install everything by hand every time, especially on more complex environments. In that case, Puppet or Chef are the way to go, but that's a subject for another post.
Troubleshooting
Vagrant loads sites very slow
Solutions #1:
See how the host machines hosts file looks like. Put all the localhost calls on a same line.
Solutions #2:
Vagrant has 360 MB memory by default, bump it up by putting this in the Vagrantfile and running $ vagrant restart:
config.vm.provider :virtualbox do |vb|
    vb.customize ["modifyvm", :id, "--memory", "1024"]
end
Solutions #3:
Define skip-name-resolve in the VMs my.cnf. The file can be located in following directories, depending on the OS.
/etc/my.cnf/etc/mysql/my.cnf$MYSQL_HOME/my.cnf[datadir]/my.cnf~/.my.cnf
On a Ubuntu precise64 it was in /etc/mysql/my.cnf, pop the file open with nano:
$ sudo nano /etc/mysql/my.cnfAnd edit to look something like this:
[mysqld]
skip-name-resolveThese might help, or not. In my experience the slowness is usually due to MySQL. I had a machine that I ran WordPress dev sites on, and it just one day turned almost completely unresponsive and I wasn't able to fix it. I just switched to VVV and all works fine. VVV is really the best solution for running WP sites, IMHO.
Comments would go here, but the commenting system isn’t ready yet, sorry.